I. Introduction
Maintaining your brick walls is crucial for the longevity and aesthetic appeal of your home. Over time, the mortar that binds the bricks can deteriorate, leading to structural issues and allowing moisture intrusion. Repointing is an essential maintenance technique that can restore the integrity of your brick walls, making it a valuable skill for homeowners with DIY expertise.
II. Understanding Brick Repointing
A. Definition of Repointing
Repointing refers to the process of removing old, deteriorated mortar from the joints between bricks and replacing it with fresh mortar. This procedure not only enhances the wall’s appearance but also helps in preventing water damage and improving energy efficiency. By addressing mortar decay early, homeowners can save significant repair costs in the long run.
B. Signs That Your Brick Wall Needs Repointing
Identifying the right time to repoint your brick wall is essential. Here are three key indicators that your wall may need attention:
- Cracked Mortar Joints: If you notice visible cracks in the mortar, this is a clear sign that it’s time to take action.
- Water Damage: Signs of water stains or damage on your interior walls may indicate that moisture is seeping through the weakened mortar.
- Loose Bricks: If bricks feel loose or unstable, repointing can help secure them and prevent further structural issues.
C. Tools and Materials Needed for the Job
Before diving into the project, it’s important to gather the necessary tools and materials. You will need a trowel, a joint raker or chisel, a wire brush, a mortar mix compatible with your bricks, and safety equipment. Having everything ready will ensure you can work efficiently without interruptions.
III. Preparing for the Repointing Process
A. Assessing the Condition of Your Brick Wall
Begin by inspecting your brick wall closely. Look for cracks, crumbling mortar, or any areas showing signs of wear. Taking the time to assess the level of damage will help determine the extent of repointing you need to perform and guide you in selecting the right materials. For more on pre-job planning, explore our Pre-Pour Checklist.
B. Choosing the Right Type of Mortar
Choosing the appropriate mortar mix is vital for a successful repointing project. Lime mortar is more flexible and allows moisture to escape, making it suitable for older homes, while Portland cement offers strength for newer structures. Understanding the differences between these types of mortar will ensure compatibility with your existing brickwork. Learn more about selecting the right concrete mix.
C. Safety Precautions
Safety should be a top priority during any DIY project. Be sure to wear protective goggles, gloves, and a dust mask to shield yourself from debris and dust. Additionally, if you need to work at heights, use stable ladders and scaffolding, ensuring a secure setup to avoid accidents. Check out these safety measures for related guidance.
IV. Step-by-Step Guide to DIY Brick Wall Repointing
A. Step 1: Remove Old Mortar
Start the process by carefully removing the old, deteriorated mortar. Use a joint raker or chisel to extract the mortar from the joints between the bricks. Take care to avoid damaging the bricks themselves, and work gradually to achieve a clean joint.
B. Step 2: Clean the Joints
After removing the old mortar, it’s crucial to clean the joints thoroughly. Brush away any dust and debris using a wire brush to create a clean surface for the new mortar. A clean joint will ensure better adhesion and longevity of the new mortar.
C. Step 3: Mix New Mortar
Now it’s time to prepare the new mortar. Follow the manufacturer’s instructions for mixing ratios, ensuring a consistency similar to peanut butter—neither too dry nor too wet. Properly mixed mortar is essential for effective application and durability.
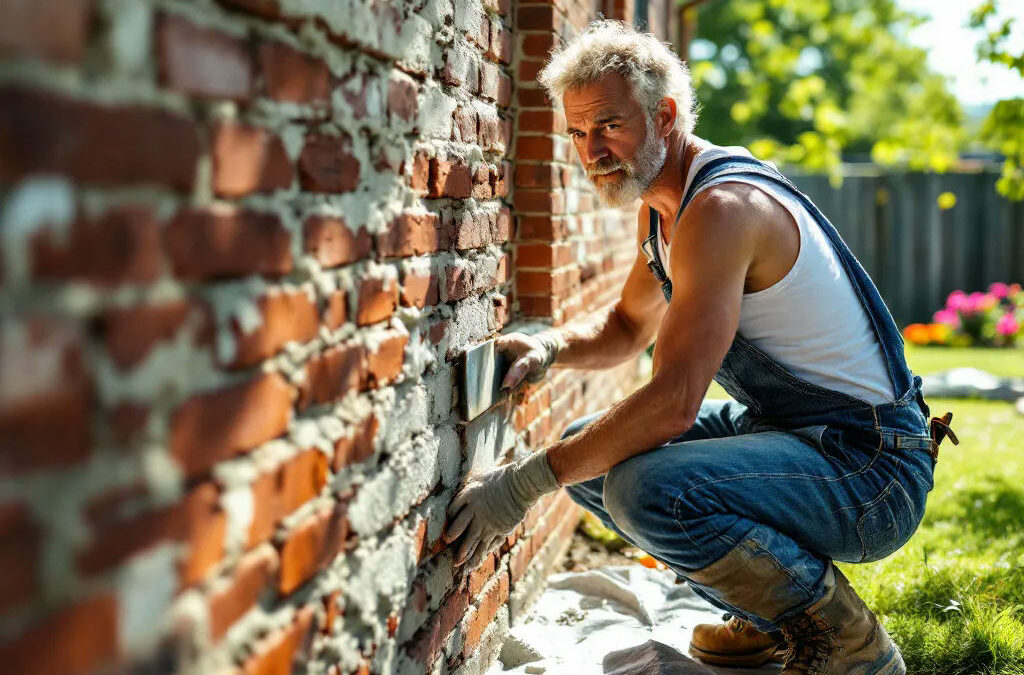
D. Step 4: Apply New Mortar
Using a trowel, carefully apply the new mortar into the joints. Make sure to fill each joint completely, pressing the mortar firmly to eliminate air pockets. Smooth the application using a pointing tool for a neat finish, ensuring the aesthetic complement of your brickwork.
E. Step 5: Finishing Touches
Once the mortar is applied, tooling the joints gives your work a professional look. After tooling, allow the mortar to cure properly according to the manufacturer’s recommendations. Proper curing is essential for strength and prevents cracking. Understand why curing times matter.
V. Maintenance Tips After Repointing
To prolong the lifespan of your repointed brick wall, conduct regular inspections every few months. Check for any signs of damage or wear and address them promptly. Additionally, apply a waterproof sealant if necessary to protect against moisture and ensure your bricks stay in top shape. Learn more about residential vs. commercial applications for long-term care tips.
VI. Common Mistakes to Avoid
A. Over-Watering Mortar
It’s crucial not to over-water mortar during mixing as it can weaken the finished product. Aim for the correct consistency, and if unsure, err on the side of slightly less water to maintain strength.
B. Not Allowing for Proper Curing
Curing is a vital phase in the repointing process. Skipping or rushing this step may lead to cracking and reduced mortar strength. Follow the recommended curing times for the best results. Check out common mistakes to avoid in concrete projects.
C. Ignoring Climate Considerations
Be aware of the weather conditions while repointing. Extreme cold or wet weather can hinder the curing process. If the conditions are not ideal, it might be best to wait for a more suitable time to ensure successful results. See how weather can impact your work.
VII. Conclusion
DIY brick wall repointing not only rejuvenates the appearance of your home but also fortifies its structure against future damage. Empower yourself as a homeowner by taking this project into your own hands, and enjoy the satisfaction of a job well done. For additional resources and support, numerous online platforms offer community advice and instructional videos.
Ready to start your project? Give us a call now at 916-562-2345 for a free quote and expert guidance to help make your repointing successful!